


Getting Started with Windows Containers
13 Oct 2016 in DockerAs you probably know, Microsoft announced the RTM of Windows Server 2016 two weeks ago during Microsoft Ignite. Since yesterday, the bits are available and you can start to work with this new version of Windows Server, that brings containers to the Windows ecosystem (and many more features that you can discover here).
This article will help you to get started with Windows Containers on Windows Server 2016 and Windows 10.
Get your environment ready
Windows Containers are available on Windows Server 2016 and Windows 10 Anniversary Update. There are several ways to get your environment ready.
Windows 10 Anniversary Update
The simple way to install and configure Windows Container features on your Windows 10 Anniversary Update machine is to download Docker for Windows. You need to work with the beta channel to get the support of Windows Container with Docker for Windows.
If you do not want use Docker for Windows, open an elevated PowerShell session and follow these steps:
- Enable the containers feature on your machine
Enable-WindowsOptionalFeature -Online -FeatureName containers -All
- Enable the Hyper-V feature on your machine
Enable-WindowsOptionalFeature -Online -FeatureName Microsoft-Hyper-V -All
- Restart your computer
Restart-Computer -Force
Once restarted, re-open an elevated PowerShell session and install Docker using the following commands.
- Download Docker
Invoke-WebRequest "https://master.dockerproject.org/windows/amd64/docker-1.13.0-dev.zip" -OutFile "$env:TEMP\docker-1.13.0-dev.zip" -UseBasicParsing
- Expand the Docker archive
Expand-Archive -Path "$env:TEMP\docker-1.13.0-dev.zip" -DestinationPath $env:ProgramFiles
- Add the Docker directory in system path
[Environment]::SetEnvironmentVariable("Path", $env:Path + ";C:\Program Files\Docker", [EnvironmentVariableTarget]::Machine)
- Register the Docker deamon as a service on your machine
dockerd --register-service
- Start the Docker service
Start-Service Docker
After this step, you should be able to work with Docker on your machine. You can type docker info to check that all is good.
Windows Server 2016
Docker for Windows does not work on Windows Server 2016, so you need to install the containers feature by yourself, but it’s really simple. Open an elevated PowerShell session and follow these steps:
- Install the containers feature
Install-WindowsFeature containers
- Restart the machine
Restart-Computer -Force
Once restarted, re-open an elevated PowerShell session and install Docker.
- Download the Docker engine
Invoke-WebRequest "https://download.docker.com/components/engine/windows-server/cs-1.12/docker-1.12.2.zip" -OutFile "$env:TEMP\docker.zip" -UseBasicParsing
- Install the Docker engine
Expand-Archive -Path "$env:TEMP\docker.zip" -DestinationPath $env:ProgramFiles
- Add the Docker directory in the system path
[Environment]::SetEnvironmentVariable("Path", $env:Path + ";C:\Program Files\Docker", [EnvironmentVariableTarget]::Machine)
- Register the Docker deamon as a service
dockerd.exe --register-service
- Start the Docker service
Start-Service Docker
After this step, you should be able to work with Docker on your machine. You can type docker info to check that all is good.
Windows Server 2016 with Containers on Azure
If you do not want install and configure yourself Windows Server 2016 and the containers features, the best and quick way to get started is to use the Windows Server 2016 Datacenter with Containers image available in the Microsoft Azure Marketplace. You don’t have a Microsoft Azure account yet? Create one and try Azure for free now from http://aka.ms/tryazure.
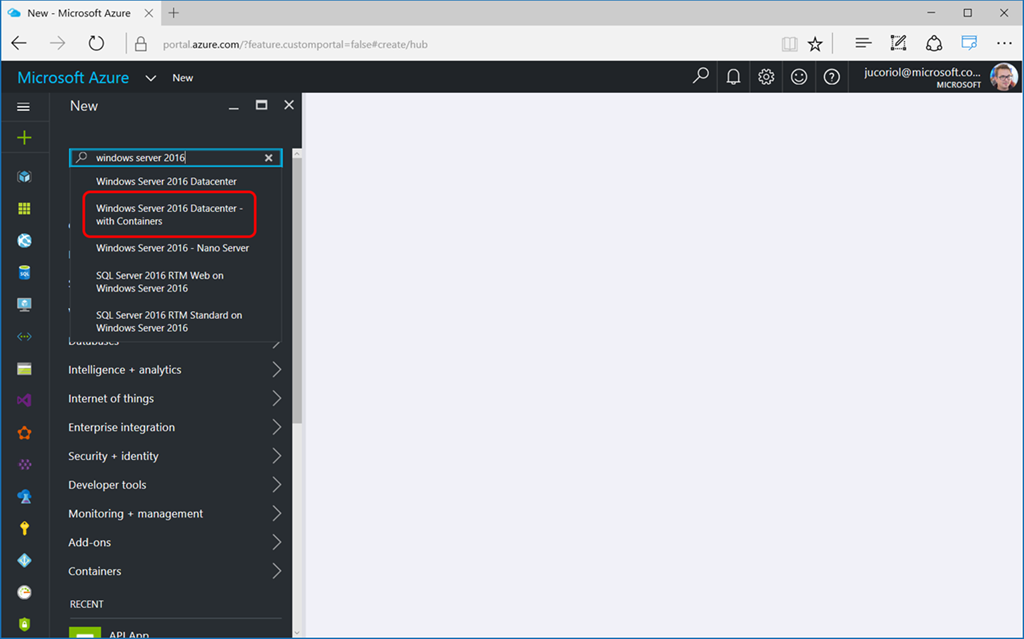
Sign in to your Azure account on the portal and search for Windows Server 2016. In the list, you will find the image “ - with Containers”:
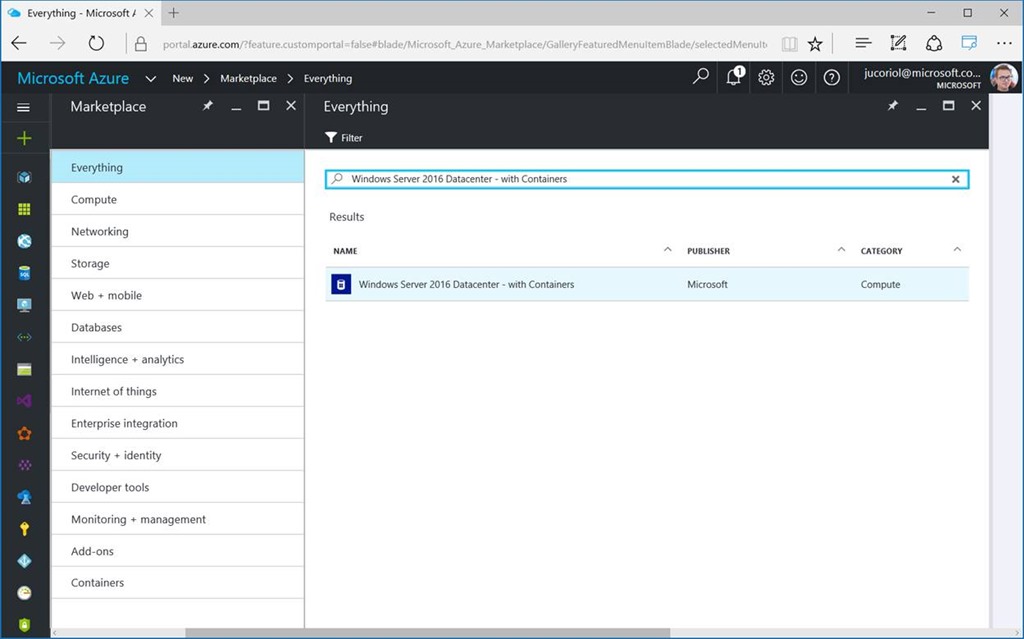
Click on this image on the results list:
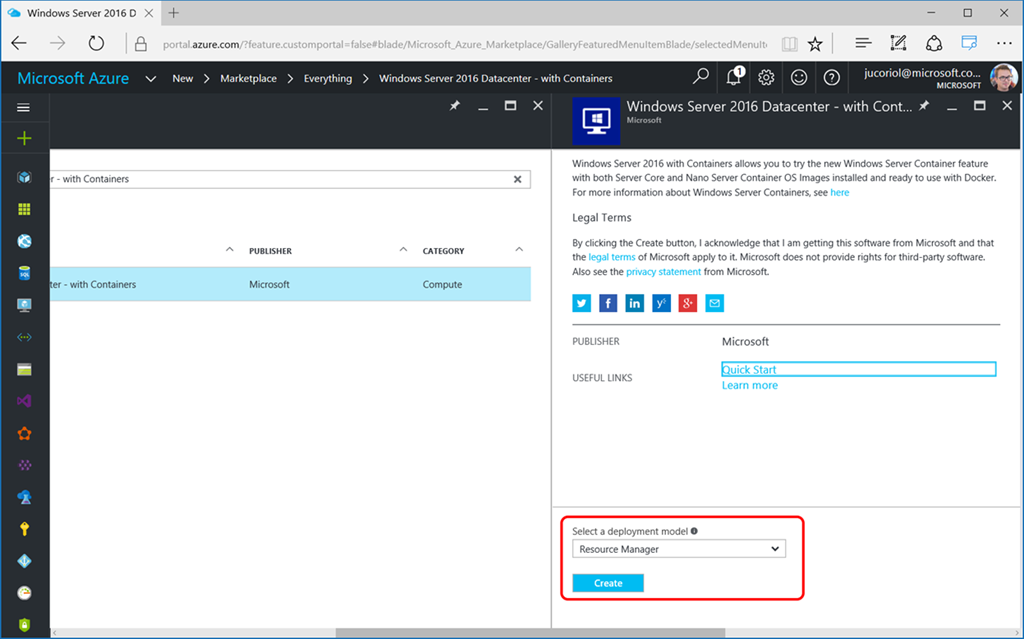
Then click on Create to start the creation wizard:
Configure the basic settings of your new virtual machine: name, type of disk, username, password and the region where you want to deploy this machine.
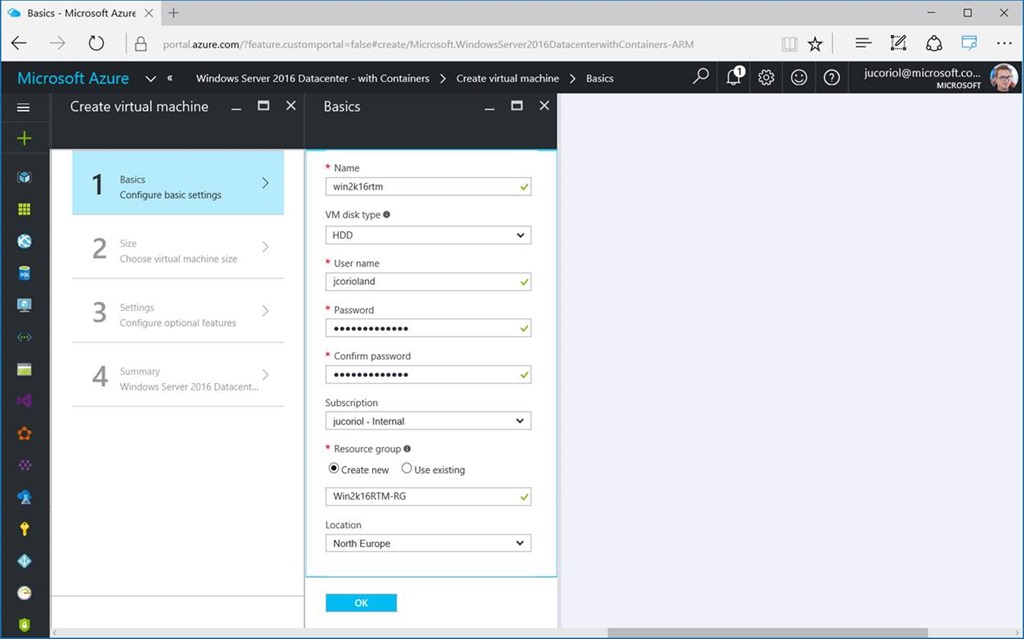
Then click OK and choose the size of the virtual machine. Click OK when you have made your choice.
In the next step, the only mandatory option is the network. Click on the Virtual Network option and click Create New:
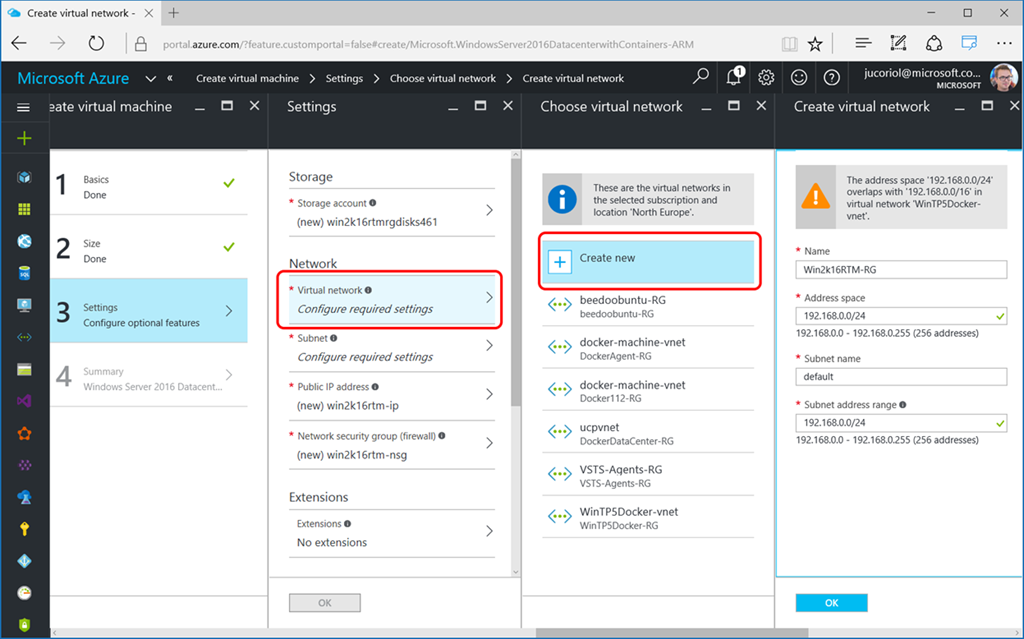
Give a name to your network and the address space / range you want to work with. Click OK to validate.
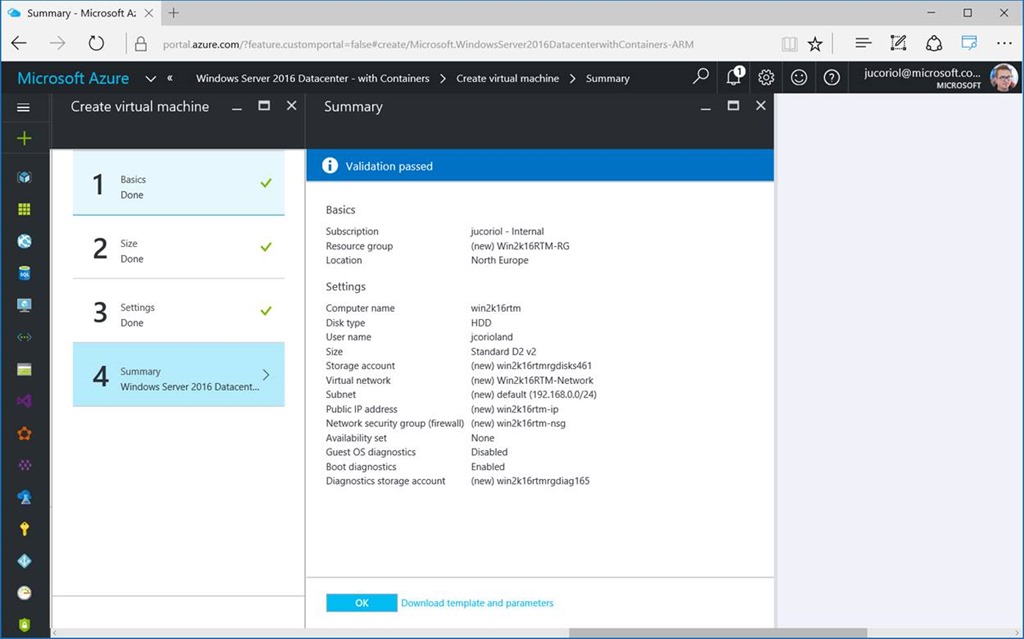
Now, you should be able to validate the step 3 and click OK to start the deployment once the validation step completed:
Wait for the deployment to be completed:
Once deployed, click on the “Connect” button in the virtual machine general overview:
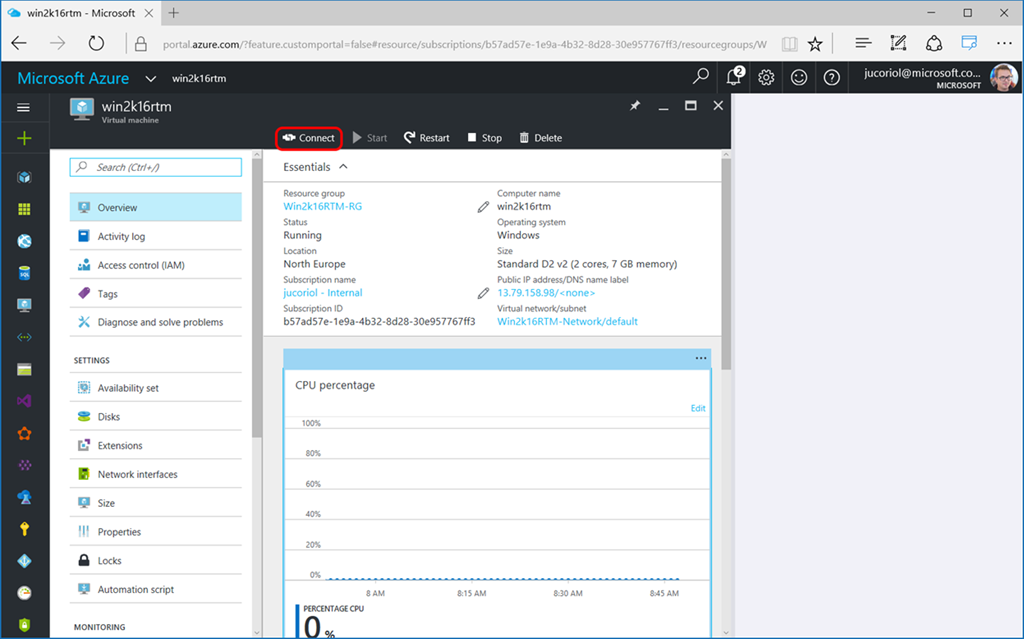
It will launch an RDP session. Use your credentials to start a session. Open PowerShell and start the docker service using the following command:
Start-Service Docker
Once started, type docker info to validate that all is working as expected.
Pull the base container image
Now that you have a machine configured to work with Docker and Windows Containers you need to pull a base image. There are two base images available: Windows Server Core and Nano Server:
docker pull microsoft/windowsservercore
docker pull microsoft/nanoserver
Note: if you have deployed the pre-configured virtual machine in Azure, the two base images are already pulled.
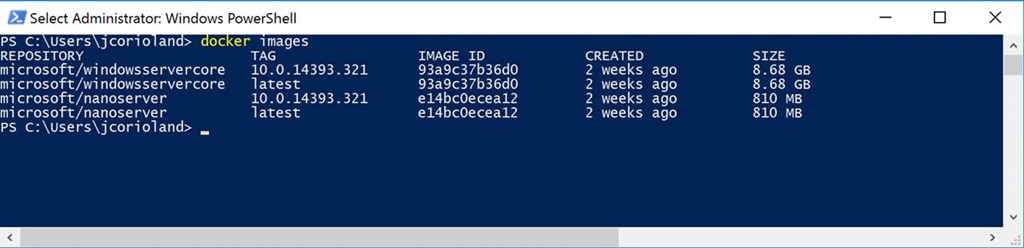
Once completed, you can type docker image to check that the image is available on your machine:
Hello Windows Containers
In this part, you will start your first Windows Container using Docker.
Open an elevated PowerShell session on the machine you have configured in the previous step and type the following command:
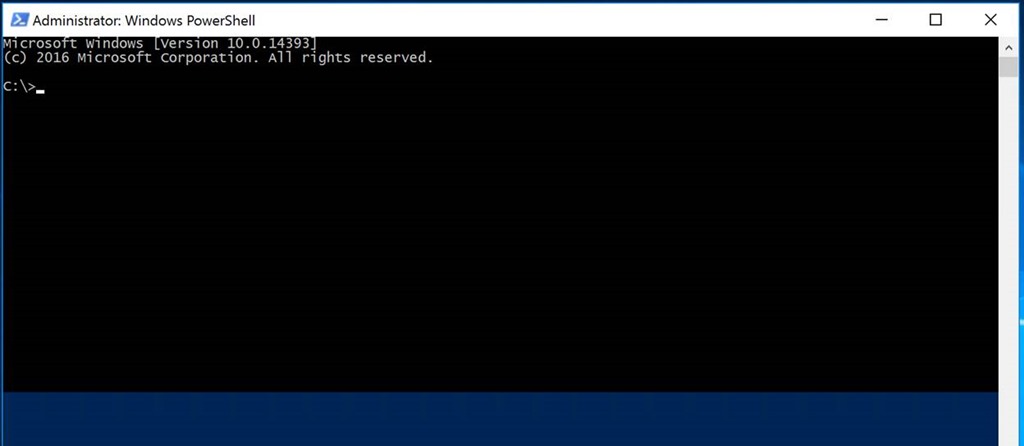
docker run -it microsoft/windowsservercore cmd
This command will start a new container using the Windows Server Core base image and start cmd.exe within the container. The -it option allows to start the container in interactive mode so you can be connected within the container and use CMD from the inside:
Depending on whether you are running the previous command on Windows Server 2016 or Windows 10, you are not working with the same kind of Windows Containers.
If you start another PowerShell window and type docker ps you will see that a container is running:

Actually, there are two types of Windows Containers:
- Windows Server Containers, that are similar than Linux containers in the concepts
- Hyper-V Containers, that runs inside a small virtual machine on Hyper-V
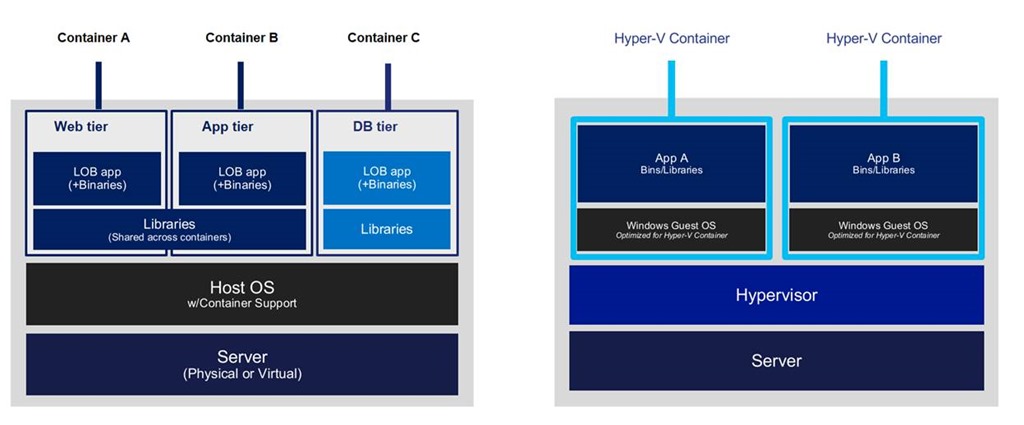
Windows Server Containers share the same base OS and kernel. Hyper-V containers have been designed to be more isolated that Windows Server Containers and are running directly on the hypervisor. They are not sharing the guest OS nor the kernel.
When running on Windows 10, you can only work with Hyper-V containers.
When running on Windows Server 2016, you can choose between Hyper-V and Windows Server containers. By default, when you use the docker run command it will start a Windows Server container, but you can specify that you want to run an Hyper-V container by using the flag --isolation=hyperv.
External links
Here are some external links that could be useful to get more information about Windows Containers:
- Windows Containers Overview
- Get started with Docker for Windows
- Introducing Docker for Windows Server 2016
- Windows Containers on Windows Server Quick Start
- Windows Containers on Windows 10 Quick Start
- Hyper-V Containers
Have fun with Windows Containers & Docker !